
NOTE: The import file must be CSV (comma delimited) or TXT (tab delimited).
- A CSV (comma delimited) file consists of a header record containing a description for each field, followed by one or more loan records consisting of fields separated by a literal comma. All records must have an identical sequence of fields and each record must be terminated by a line break.
- A TXT (tab delimited) file consists of a header record containing a description for each field, followed by one or more loan records consisting of fields separated by a tab-character. All records must have an identical sequence of fields and each record must be terminated by a line break.
To manually create the import file:
- Launch Microsoft Excel.
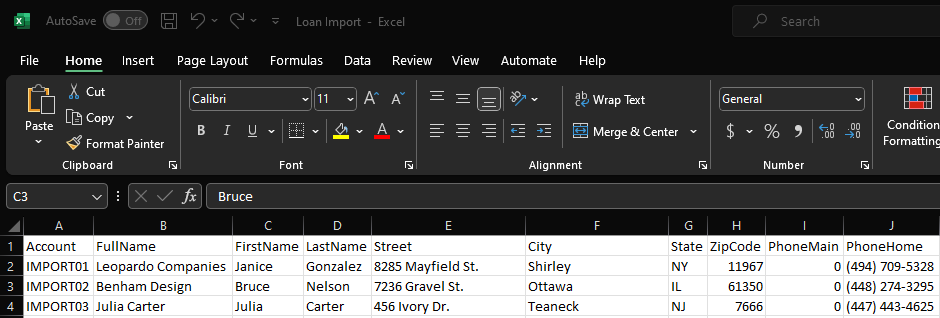
- The first row of the spreadsheet must be the header row. Each column of the header row contains a description for the information contained in the column. This description will be displayed by the import assistant when mapping your fields. See sample below:
NOTE: If you'd like a copy of a sample import loans spreadsheet, reach out to your account manager to request one.
- Next either copy and paste or enter each loan's information in the corresponding column using one row per loan. Note we are using a loan file as an example, but the methodology applies to co-borrowers, lenders and vendors as well.
- When completed, using the Save As feature in Microsoft Excel, save the file as type Text (Tab delimited)(*.txt) or CSV (Comma delimited)(*.csv). Give the file a descriptive name and save it in a location of your choice.
- You are now ready to launch the appropriate Import Assistant and import the records into Loan Servicing.
NOTE: Click here to view articles that contain field mappings for each import type.
Copyright © Applied Business Software, Inc. All Rights Reserved.